Aug 15, 2010

Curtain Alternative

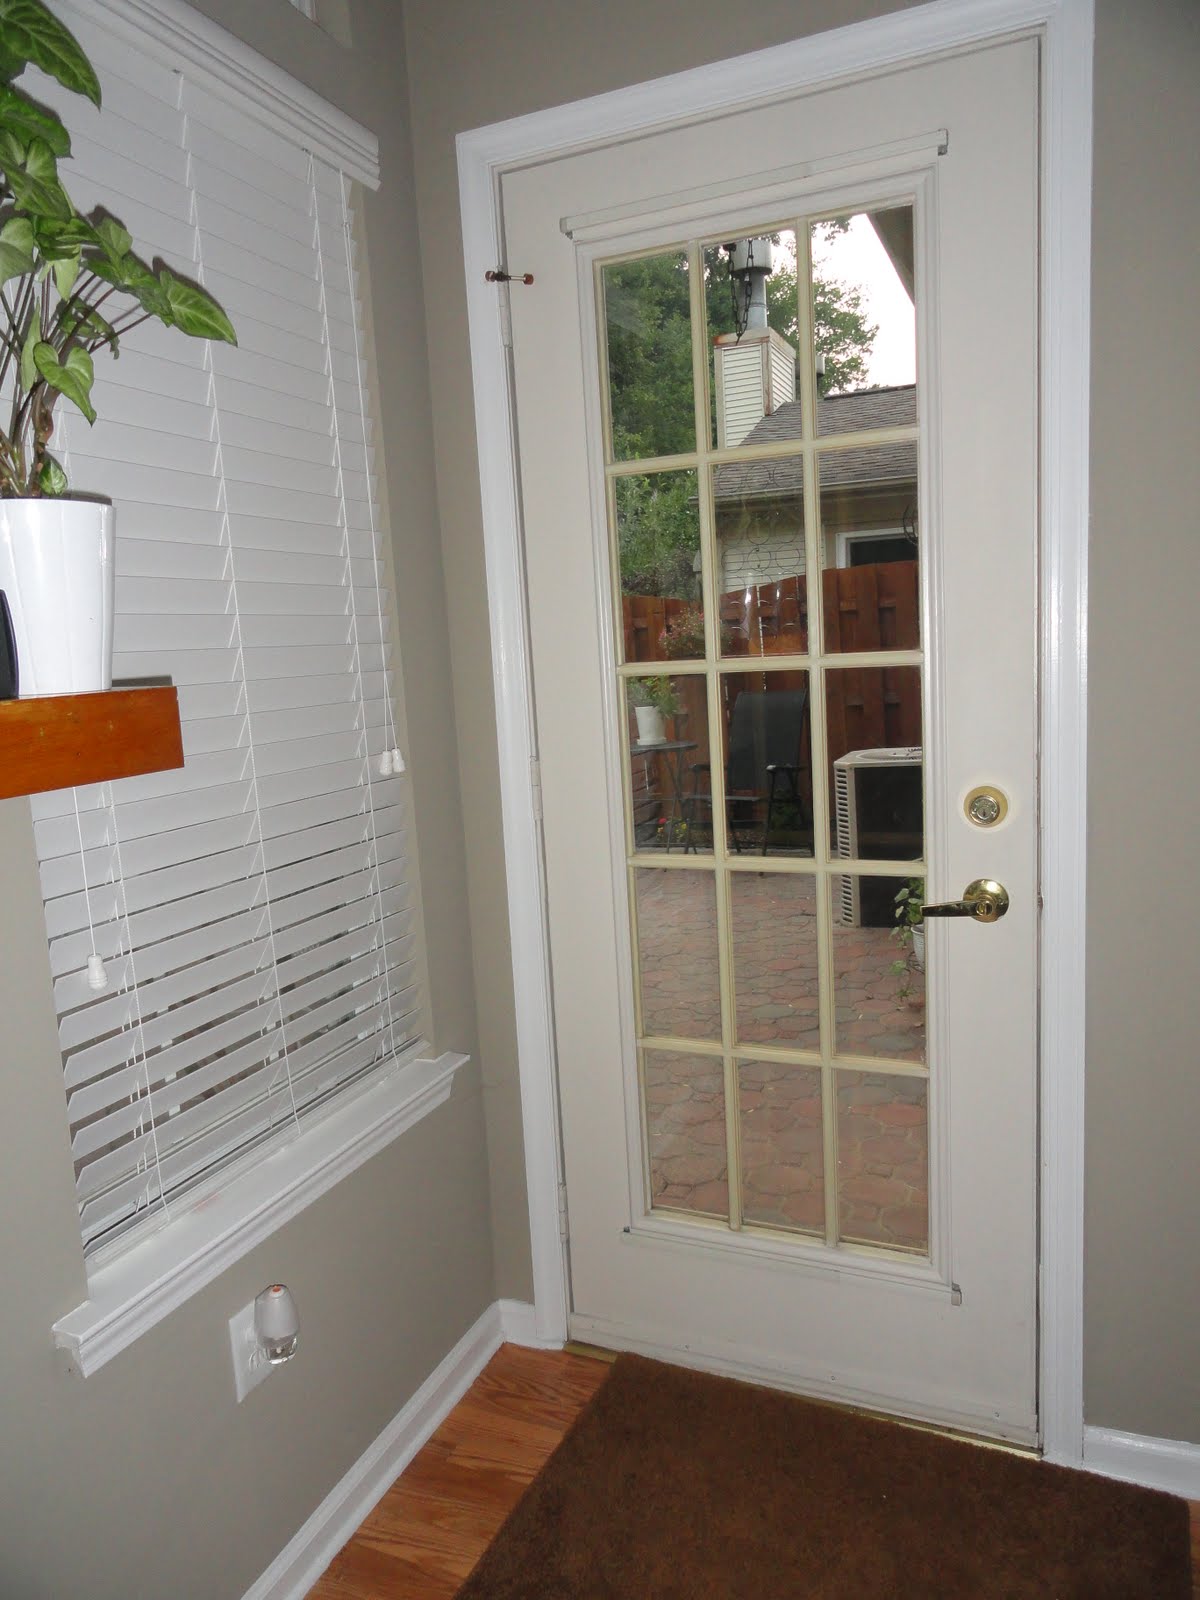
I can honestly say that there are only about four things that I salvaged (temporarily) in our townhouse when we bought it - and one of those things was the curtain that covered our back door.   

When we were painting our family room I burnt a big hole in the curtain with a light bulb from a (shadeless) lamp I was using for extra light.  You'd think the big hole in my curtain would be the motivation I needed to buy a new one.  Um no.  I let the curtain hang on the door for another six months. 

Two weeks ago, I measured the window and finally went to BED BATH & BEYOND for a new curtain.  Bought one, brought it home, started to hang it...and I realized it didn't fit.  Ugh. 

That's when I started thinking about what kind of curtain alternatives there are.  And then, I  remembered there was such a thing as frosted glass spray paint...and I've always wanted to use this stuff!!!  Now I had a reason to!

Here's what I did:
Two days before the idea for this project popped into my head I purchased this DURA-LAR paper below at Michael's craft store.  I bought the durable (and washable) material to make stencils for my curtain makeover project (currently in progress).

I used the DURA-LAR and craft knife shown above to make my stencil. I knew I wanted to do circles (easy breezy. modern. fun. nice looking.) so I searched around the house for a circular object to trace. I outlined one of the panels on the back door so I knew how much space I had to work with. A tea light turned out to be the best item to trace.

I used a ruler to draw straight lines- this was helpful in making sure my circles also stayed in a straight line while tracing.  Once my circles were traced, I used a craft knife to cut the circles out.
Here is my stencil after the circles were cut out.  See how perfect it fits into the panel area.

The only other materials I purchased for this project was double sided tape and Valspar frosting spray paint.

This is our back door BEFORE.
This picture shows how I used the double sided tape.  The tape was great for ensuring that the stencil stuck to the glass closely, in order to prevent the spray paint from bleeding.
The back door AFTER.
Here is another shot of the back door shown in a different light. 
This is a shot of the door from the outside looking in at night time.  This curtain alternative provides the right amount of privacy we need, while still allowing an abundance of sun to shine through. 

Aug 4, 2010

Now That's a Stinky Job

My mom was coming to ring in 2010 with us so I wanted as many things as possible to be perfect.  I had just finished our guest bedroom and it was about that time when I'd start itching for a new project.  The decision to demolition our hall bathroom was made 10 days before my mom was expected to arrive.  All I had to do was get Rob on board...and being the good hubby that he was, he was game.

Here's our bathroom on December 21, 2009:
This is the old stinker

Ugly old sink and counter top

God awful paint and border
Here's a couple demolition shots:


At the time we were working on this bathroom I didn't know I'd be blogging about my home improvement adventures - so my apologies for not providing step-by-step instructions and pictures.  I'd love to answer your questions about what we did and how if you'd like to shoot me an email :)


Here's our bathroom on December 29, 2010:
THAT'S RIGHT...WE DID IT!!!!  EIGHT DAYS OF HARD WORK WELL PAID OFF.


Quick run down of what we did:
 
We smashed the old tile flooring and literally beat down the old wood cabinet with a hammer (great stress reliever).  Then, we spackled, and spackled, and spackled, and spackled and sanded even more.  Next, we painted.  After that we installed new tile flooring.  Finally, we installed a new towel rack, light fixture, cabinet and sink, mirror and toilet (pee-you). 

Jul 31, 2010

Crazy for Cattails (Typha)

We were driving along when, as he pointed to the side of the road, Rob asked me, "Have you ever lit cattails to keeps bugs away?" 

Am I the only person who has never heard those gorgeous growths of nature referred to as "cattails?"  Used as a bug repellent?  Huh?  This was all new news to me.  As Rob pointed to the cattails all I could think about was how cool they were- I was so intrigued!

I know what you're thinking...of course I've seen cattails before.  It's just that I guess I sort of forgot about them.  I must have unconciously stopped paying attention to them in my surroundings.

A week after the cattail sighting Rob came home from work carrying about 20 in his arms.  I laugh out loud every time I imagine him on the side of the busy road cutting cattails in a suit and tie with a plastic knife left over from his lunch eaten in the car.  Come on- you know that's funny!

I was watering my flowers last night and I noticed the cattails on top of the grill. Rob put them there to dry out before they can be lit.  At that moment I had this crazy idea...cattails in the garden?  Hmmmm.  And just like that I placed Typhas into a vase and set them in the garden.

Typha is versitile, serving as a bug repellent and garden decor, and that makes me crazy for cattails!


Jul 25, 2010

Backyard Bliss

I'm happy to tell you that I have crossed off an item from my On the Radar list.  Yippee!!  Woo to the hoo, hoo, hoo!!!  Now - don't think I've been slacking - I know it's been awhile since I've written about a new project.  I promise I've been busy working on four projects at once...I should be writing about them soon enough!

At the time we purchased our townhouse (almost a year ago) I didn't think there was a better feeling than that of having a love nest to call my own - well, "our" own!  I've since discovered there are better feelings than that of owning a home.  It's those moments when I sit back and enjoy the hard work we've put into our space. I love the feeling when I'm sitting on my back porch sippin' Pineapple Mojitos made with fresh mint picked from my very first garden, while Rob fires up the grill and fills the air with the essence of BBQ deliciousness and I stare proudly at my beautiful flowers and garden beds we worked so hard to make pretty.  Now that is a great feeling! 

Let me share with you how we transformed our backyard from blah to bliss. 


BLAH:

BLISS:
Did you notice we did some serious power washin' to the fence and applied wood stain? The pictures just don't do justice. Our neighbors loved how much we transformed our space so they also power washed and stained their fence too!


BLAH:
I'm pretty sure there was 23 years of grit, grim and mildew caked to the fence.


BLISS:


BLAH:


BLISS:
I have to throw at least one Roxy girl picture into the mix...


BLAH:
This area (pictured below) was constantly muddy because the drainage piping was laid poorly...it drove us crazy! So much so that one day on a wimb Rob decided to dig a trench across the yard. He put PVC in the trench and ran it down our yard into the wooded area. Now, when it rains, the water flows into the woods. No more swampy wet lands thanks to my handyman.
Really something, huh?

BLISS:
Below, aside from the grass still growing and staining the fence, this side of the backyard is a wrap.

Check out these beauties...right in my back yard.


Jun 30, 2010

First Things First - Part III

Hey Everyone!  I know it's been awhile since I last blogged about my living room makeover.  I've been keepin' busy, now that summer is in full swing, with yard work, refinishing patio furniture, painting dressers and a laundry list of other fun projects. 

I thought I'd post recent pics I took of our living room to show the great progress we've made.  This room makes me so happy every time I walk through the front door.